Podcast LUFS: How Loud Should a Podcast Be?
The usual podcast LUFS target is about −16 LUFS integrated with true peaks under −1 dBTP. Here is what that means, how to measure it, and how to hit it free.
 audio2clean
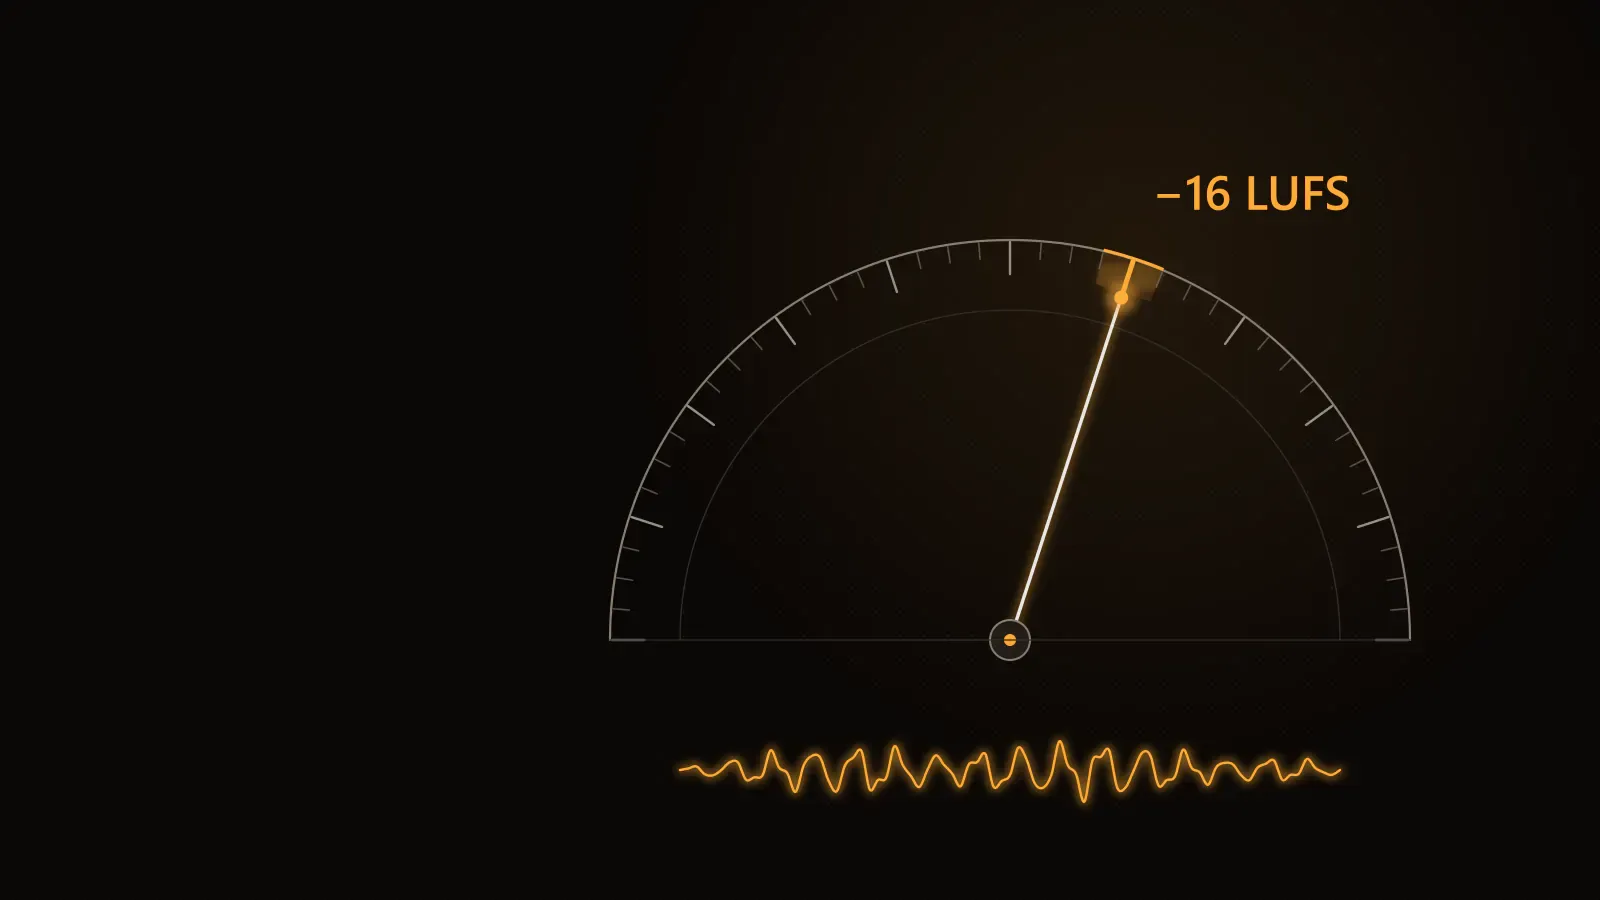
Short answer: the usual podcast LUFS target is about −16 LUFS integrated loudness, with true peaks no higher than −1 dBTP. That is the level Apple recommends for podcasts, and it sounds right on phones, car stereos and smart speakers. If you publish a mono file, aim for about −19 LUFS instead — it plays back at roughly the same volume.
This guide explains what LUFS measures, which podcast LUFS number each platform expects, how to measure your own episode for free, and the habits that leave a show sounding too quiet or squashed.
What podcast LUFS actually measures
LUFS stands for Loudness Units relative to Full Scale. It measures how loud a recording sounds over time, not how high its loudest peak is. Two files can both peak at −1 dB and still sound very different in volume — one is a soft interview with a single cough, the other is wall-to-wall talk. LUFS captures that difference; a peak meter does not.
The scale comes from the ITU-R BS.1770 standard. It weights the audio to roughly match human hearing, averages the energy, and gates out near-silent passages so pauses don't drag the number down. One LU equals one decibel, so −14 LUFS is 2 dB louder than −16 LUFS.
When people talk about podcast LUFS, they nearly always mean the integrated value: one number that describes the whole episode.
Integrated, short-term and momentary loudness
Most loudness meters show three readings.
- Integrated loudness is the average over the entire file. This is the number platforms ask for, and the one any podcast LUFS target refers to.
- Short-term loudness uses a 3-second window. It shows whether one segment — an ad read, a loud guest — sits far above the rest.
- Momentary loudness uses a 400-millisecond window and jumps around constantly. Use it to spot a sudden laugh or shout, but don't try to keep it flat.
Podcast LUFS targets by platform
These are the podcast LUFS figures you are most likely to need.
| Where it plays | Integrated loudness | Suggested true peak | | --- | --- | --- | | Apple Podcasts | about −16 LUFS (±1 dB) | −1 dBTP | | Mono podcast file | about −19 LUFS | −1 dBTP | | Spotify | normalizes playback to about −14 LUFS | −1 dBTP | | YouTube | about −14 LUFS (louder uploads are turned down) | −1 dBTP | | EU broadcast (EBU R128) | −23 LUFS | −1 dBTP |
The −16 LUFS figure is the closest thing to a podcast loudness standard: Apple publishes it, many editors default to it, and it leaves headroom to keep speech clean. Spotify and YouTube normalize playback to about −14 LUFS. YouTube generally doesn't turn quieter uploads up, so if video is your main channel, a −14 LUFS master is a sensible choice.
Platforms update their guidance from time to time, so check their current documentation before a big launch.
Mono vs stereo loudness
Most solo and interview shows are effectively mono: one voice, in the center. When you export a true mono file, a loudness meter measures a single channel. The same audio copied to both channels of a stereo file reads about 3 LU higher. That is why the common podcast LUFS target for mono is about −19 LUFS — on a listener's stereo device it sounds roughly as loud as a −16 LUFS stereo file. Check the channel count in your export dialog and pick the matching target.
True peak: the other half of the standard
Every podcast LUFS spec pairs a loudness target with a peak ceiling. Integrated loudness tells you how loud the episode feels; true peak tells you whether it might distort. The real waveform between two digital samples can rise above either of them, and those inter-sample peaks can clip once the file is encoded to MP3 or AAC. A true peak meter estimates them in dBTP. A ceiling of −1 dBTP leaves room for lossy encoding; if your show is heavily compressed or published at a low bitrate, −2 dBTP is the safer choice.
How to measure podcast LUFS
You don't need a paid plug-in to measure podcast LUFS. There are three easy ways.
- In your editor. Most audio editors include a loudness meter. Analyze the whole episode and read the integrated value at the end.
- In your browser, for free. The free Loudness Normalizer from audio2clean measures integrated loudness and true peak right in the browser, so nothing is uploaded. Pick a target of −16, −14, −19 or −23 LUFS and a true peak ceiling of −1 or −2 dBTP, and it exports a normalized WAV. It handles files up to 20 minutes, which suits short episodes, trailers and individual segments.
- On the final export. Measure the file you actually publish. Encoding to MP3 can nudge true peak up slightly, which is exactly why the ceiling exists.
Whatever you use, measure the full file. A 30-second excerpt can be several LU away from the integrated podcast LUFS of the whole episode, especially if the intro music is louder than the conversation.
How to hit the right podcast LUFS, step by step
- Clean first. Background noise raises the measured loudness, and it gets louder when you normalize. Remove hum, fans and hiss before you set the level. The AI Noise Remover does this in one pass, and you can hear a free 30-second preview before you spend anything.
- Process each speaker the same way. If you recorded separate tracks, give every track the same loudness target before you mix. A quiet guest stays quiet if you only normalize the final mix.
- Normalize to your podcast LUFS target. −16 LUFS for most shows, −19 LUFS for a mono file, −14 LUFS if the episode lives mainly on YouTube.
- Set the true peak ceiling. −1 dBTP for most episodes, −2 dBTP for low-bitrate or heavily compressed ones.
- Listen once on a phone — the first minute, a middle section and the outro.
If you would rather do the cleanup and the level in one step, the Podcast Enhancer for cleaning and leveling episodes to −16 LUFS removes noise and lands on −16 LUFS with a −1 dBTP ceiling in a single pass. Automatic speaker leveling isn't available yet, so upload each speaker's track if their levels differ.
Why not just make it as loud as possible?
Streaming apps turn loud files down to their target. Push your episode far above it and the app lowers it again — leaving the flat, tiring sound of heavy limiting without the extra volume. Too quiet is a problem as well: on apps that don't turn quiet audio up, listeners max out their phone volume. Matching the podcast LUFS target is simply the way to sound consistent next to every other show in the feed.
Common podcast LUFS mistakes
- Normalizing to peak instead of loudness. Peak normalization only moves the loudest sample. One loud laugh can leave the show far below −16 LUFS.
- Measuring a short clip. Intro, conversation and outro often differ by several LU. Read the integrated loudness of the full file.
- Setting loudness before cleanup. Normalize first and you turn the noise up along with the voice. Clean, then normalize.
- Using the stereo target for a mono file. A mono export at −16 LUFS can play noticeably louder than intended. Use about −19 LUFS for mono.
- Skipping the true peak ceiling. A file that hits −16 LUFS but peaks at 0 dBTP can crackle after MP3 encoding.
- Mismatched segments. Ads and intros mastered at different levels make listeners ride the volume. Bring every segment to the same podcast LUFS before you assemble the episode.
A podcast LUFS checklist
Before you publish, run through this list:
- Noise and hum removed before any level change.
- Integrated loudness of about −16 LUFS for stereo, or about −19 LUFS for mono.
- True peak at or below −1 dBTP (−2 dBTP for low-bitrate files).
- Measured on the whole, final file — not a clip, not the project timeline.
- Intro, ads and outro sitting at the same level as the conversation.
- One listen on earbuds and one on a laptop or phone speaker.
Get those six right and your podcast LUFS will match what Apple Podcasts and the other apps expect. To measure and fix a file now, open the free browser-based Loudness Normalizer — it takes seconds and nothing leaves your computer.