Guide
A podcast audio quality checklist: before, after and before you publish
Podcast setup: before you record
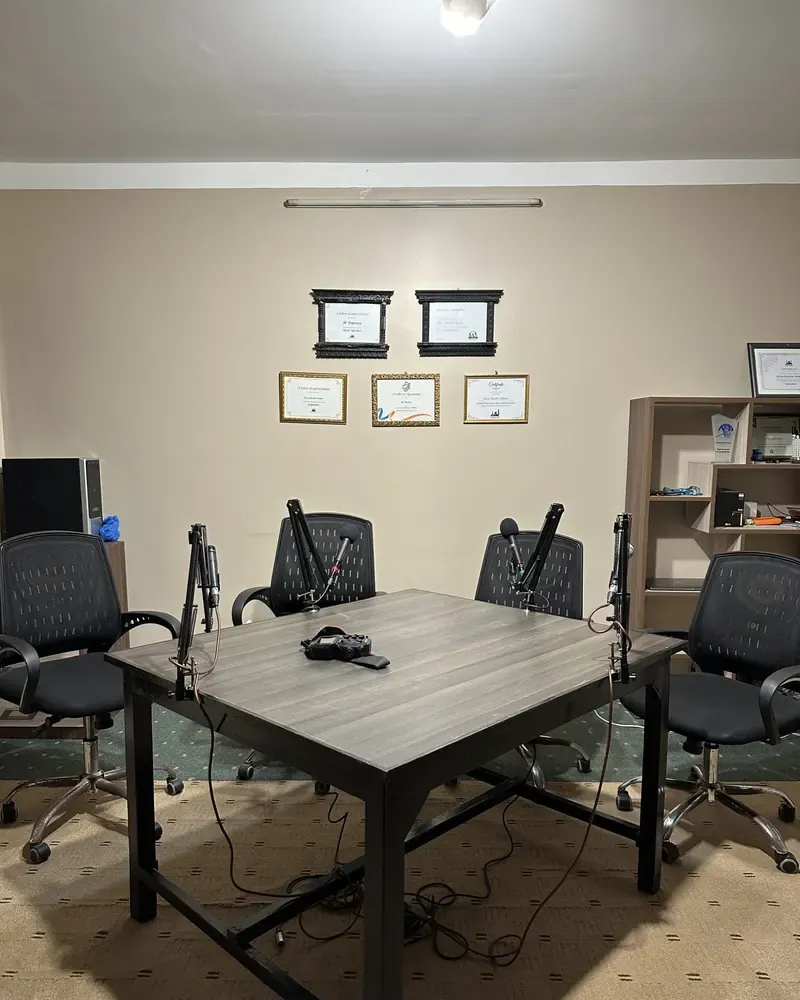
Record every speaker on their own track whenever you can.
Separate tracks let you clean each voice on its own. Ask remote guests to wear headphones and record locally if your platform supports it, keep everyone 10–15 cm (4–6 in) from the mic, and switch off fans and air-con.
A guest stuck on a laptop should use a wired headset in a quiet room. A mic close to the mouth gives the podcast enhancer far more to work with.
After you record: clean first, then set podcast loudness
Clean first, then set loudness — in that order.
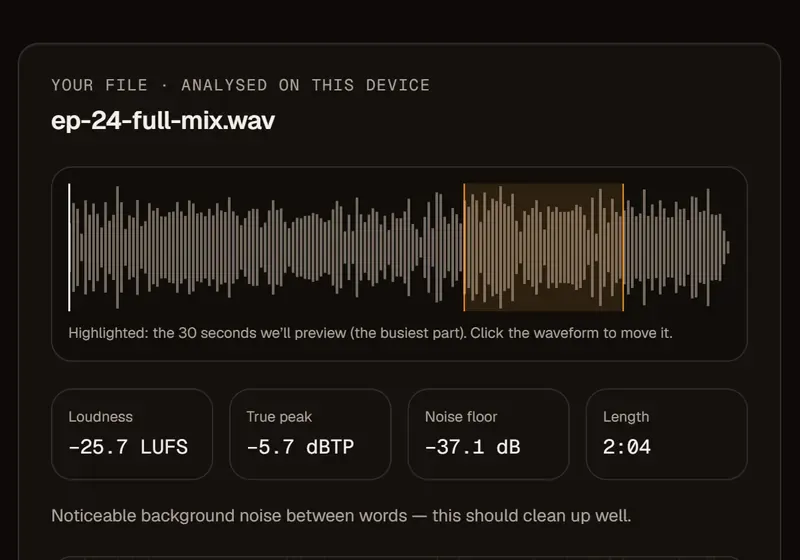
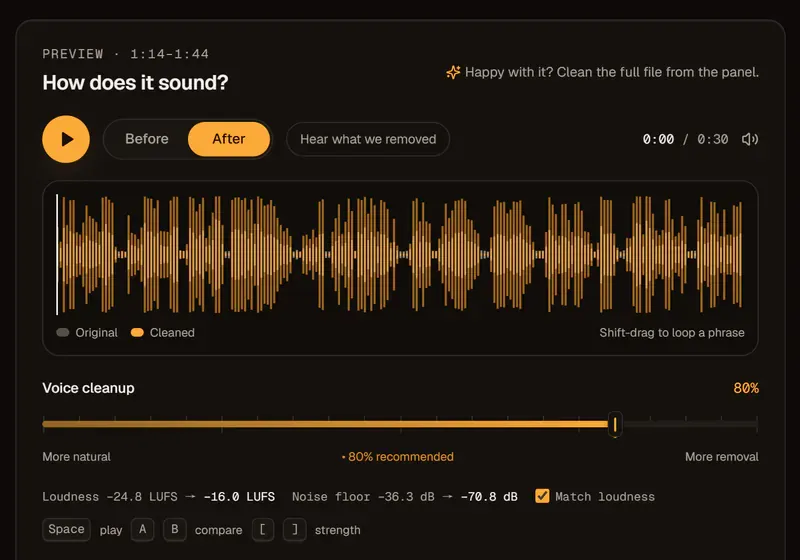
Noise removal works best on the raw recording. Set loudness before cleanup and the noise gets turned up with everything else. If one guest sounds roomy, run the Echo Remover (beta) on their track first, and until speaker leveling arrives, give every track the same loudness target.
Before you publish: check −16 LUFS and true peak
Check that the episode sits at −16 LUFS integrated, with true peak at or below −1 dBTP.
That’s the Apple Podcasts guideline. Spot-check the intro, middle and outro on earbuds and a laptop speaker, then note the podcast enhancer settings so the whole season sounds like one show.
| Check | Target | Why |
|---|---|---|
| Integrated loudness | −16 LUFS (±1) | Apple Podcasts guideline |
| True peak | −1 dBTP or lower | Headroom for app encoding |
| Speaker balance | Voices sound equally loud | No volume riding for listeners |
| File format | What your podcast host recommends | Smooth upload and playback |
Podcast editing vs. a podcast enhancer
A podcast enhancer replaces the audio-repair part of editing, not the cutting.
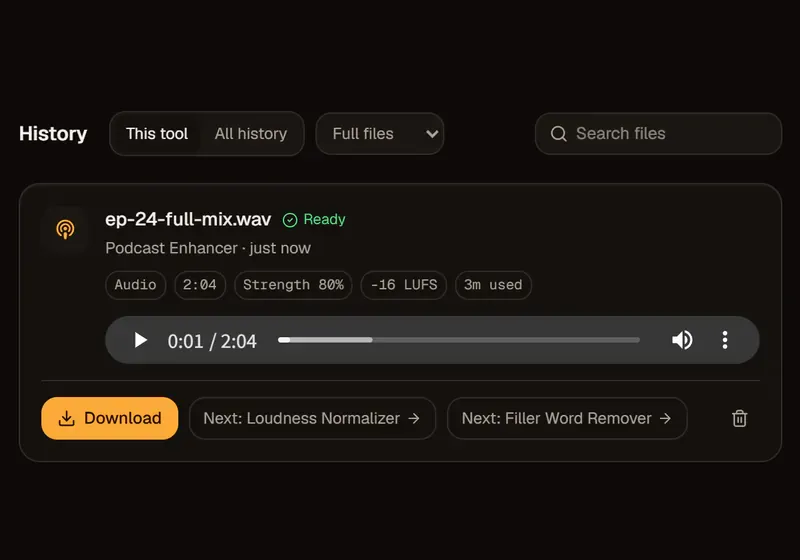
Clean each raw track here, arrange segments and add music in your podcast editor, then check the final mix in the free Loudness Normalizer, which runs in your browser. No compressors, gates or limiters to learn.